Creating a Paystack account is free, easy and can be done in a few minutes. The steps below should guide you on how to create your account.
Creating a Paystack account
- Begin by following this link to provide us with your business name, email address, country, and a password for your account: https://dashboard.paystack.co/#/signup
2. At this point, your account has been created. However, we’ll need more information about you and your business before you can start using it. You’ll be redirected to another page asking for detailed information, simply provide all that is required to complete your setup.

- Once your setup is complete you’ll be redirected to your dashboard. Congratulations, you’ve just created your Paystack account!
After creating your account, you are able to start testing your integration and playing around with our product suite.
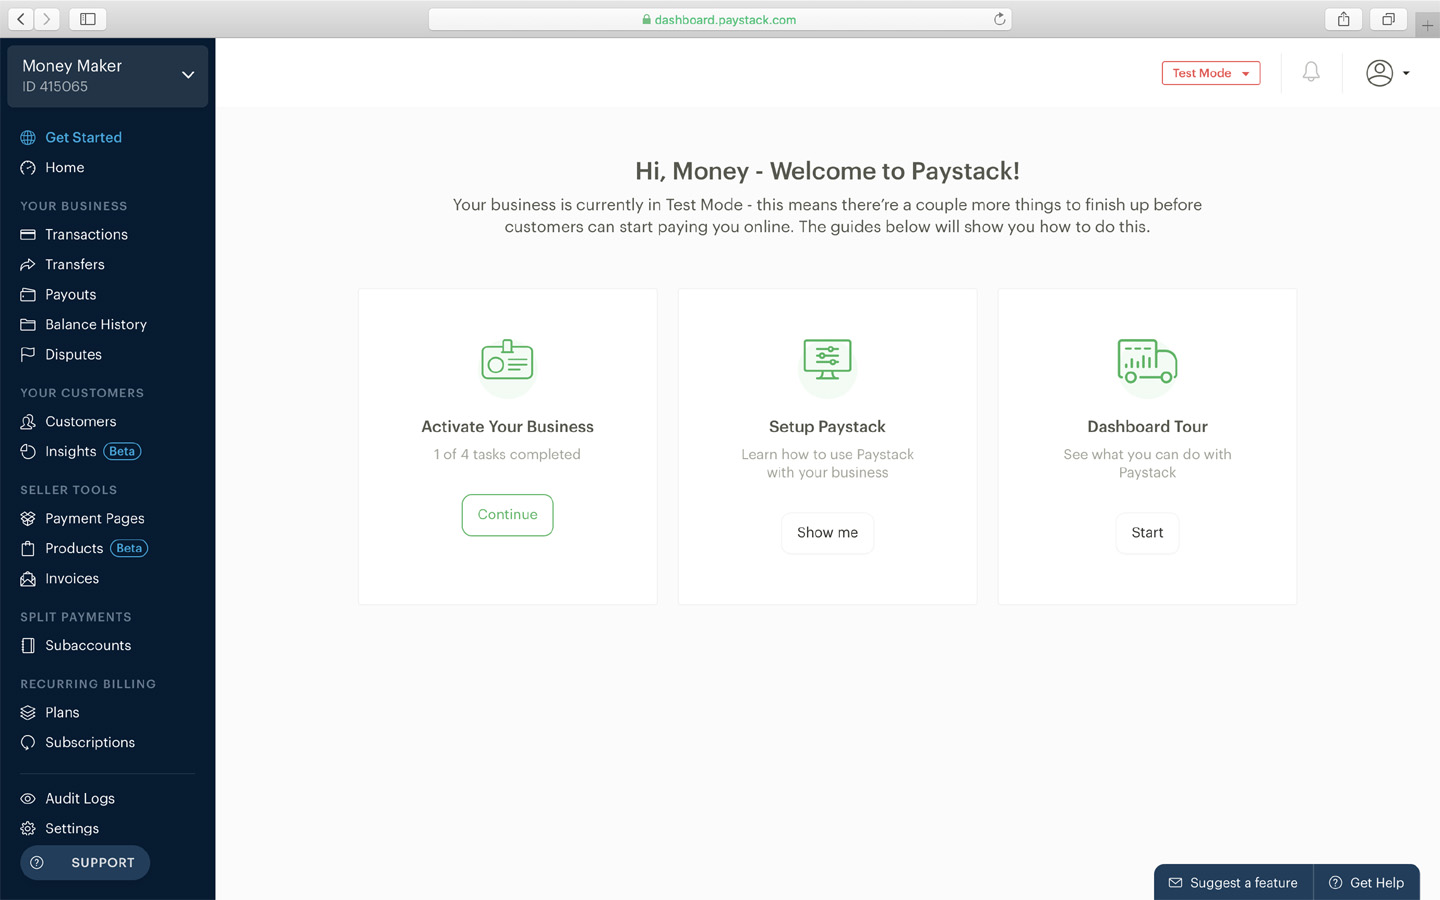
However, your account is still in Test Mode and you cannot receive real money. You will have to activate your account to take it Live and start collecting real money from your customers. Follow this link to activate your business: https://dashboard.paystack.com/#/get-started/activate.
Also, here are guides to activating your business:
You can find your keys in bottom of screen as you can see in image below

Copy this Keys and add into admin panel payments page to Paystack link