 WebMail
  LiveChat
  Support
Create Database
Go to MySQL Databases to create a new database, for example, multi_restaurants and new user and assign this database to the user created (remember the password used in this step we will use it in the installation step.)
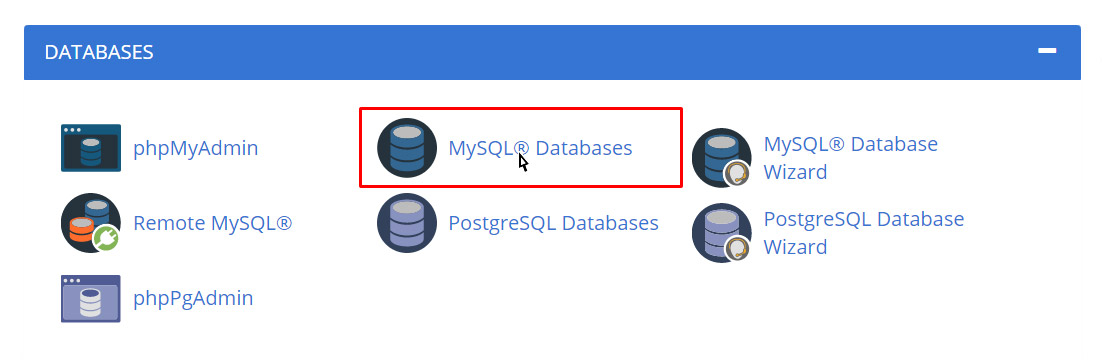
How to Create a Database?
In the New Database text box, enter a name for the database.
Click Create Database. A new interface will appear.
Click Go Back. The new database appears in the Current Database table.
How to Add a MySQL user?
After you create a database, add users to the database and configure their privileges.
Enter a username in the Username text box.
Enter and confirm the new password in the appropriate text boxes.
Click Create User.
Click Go Back to return to the main interface.
How to Add a user to a database?
To add a user to a database, perform the following steps:
In the Add User To Database section of the interface, select the desired user and database from the menus.
Click Add. The MySQL Account Maintenance interface will appear.
Select the checkboxes that correspond to the privileges that you wish to grant to the user.
Click Make Changes.
Click Go Back to return to the main interface.